Have more important things to do? Reach out to support and tell us what you're looking for!
Basic Terminology
Templates contain all the setup information for your report, like the fields, calculations, filters, sorting, and formatting options. They do not contain any of your Shopify data. Learn more
Reports are files containing your data that can be downloaded or sent to you automatically. Reports are generated from Templates.
In this guide we will show you how to:
- Customize a starter template
- Create a new template from scratch
- Template editor basics
- Run a report from a template
- Download and manage saved report files
Each article will contain additional links to further information
Customizing a starter template
Starter templates are preconfigured to meet common reporting needs. They can be run as-is or fully customized, renamed, and saved to your folder. To see them, access the Template Library from the link in the top menu bar
Starter templates are organized into folders corresponding to the type of Shopify data they provide. Click the folder to expand it
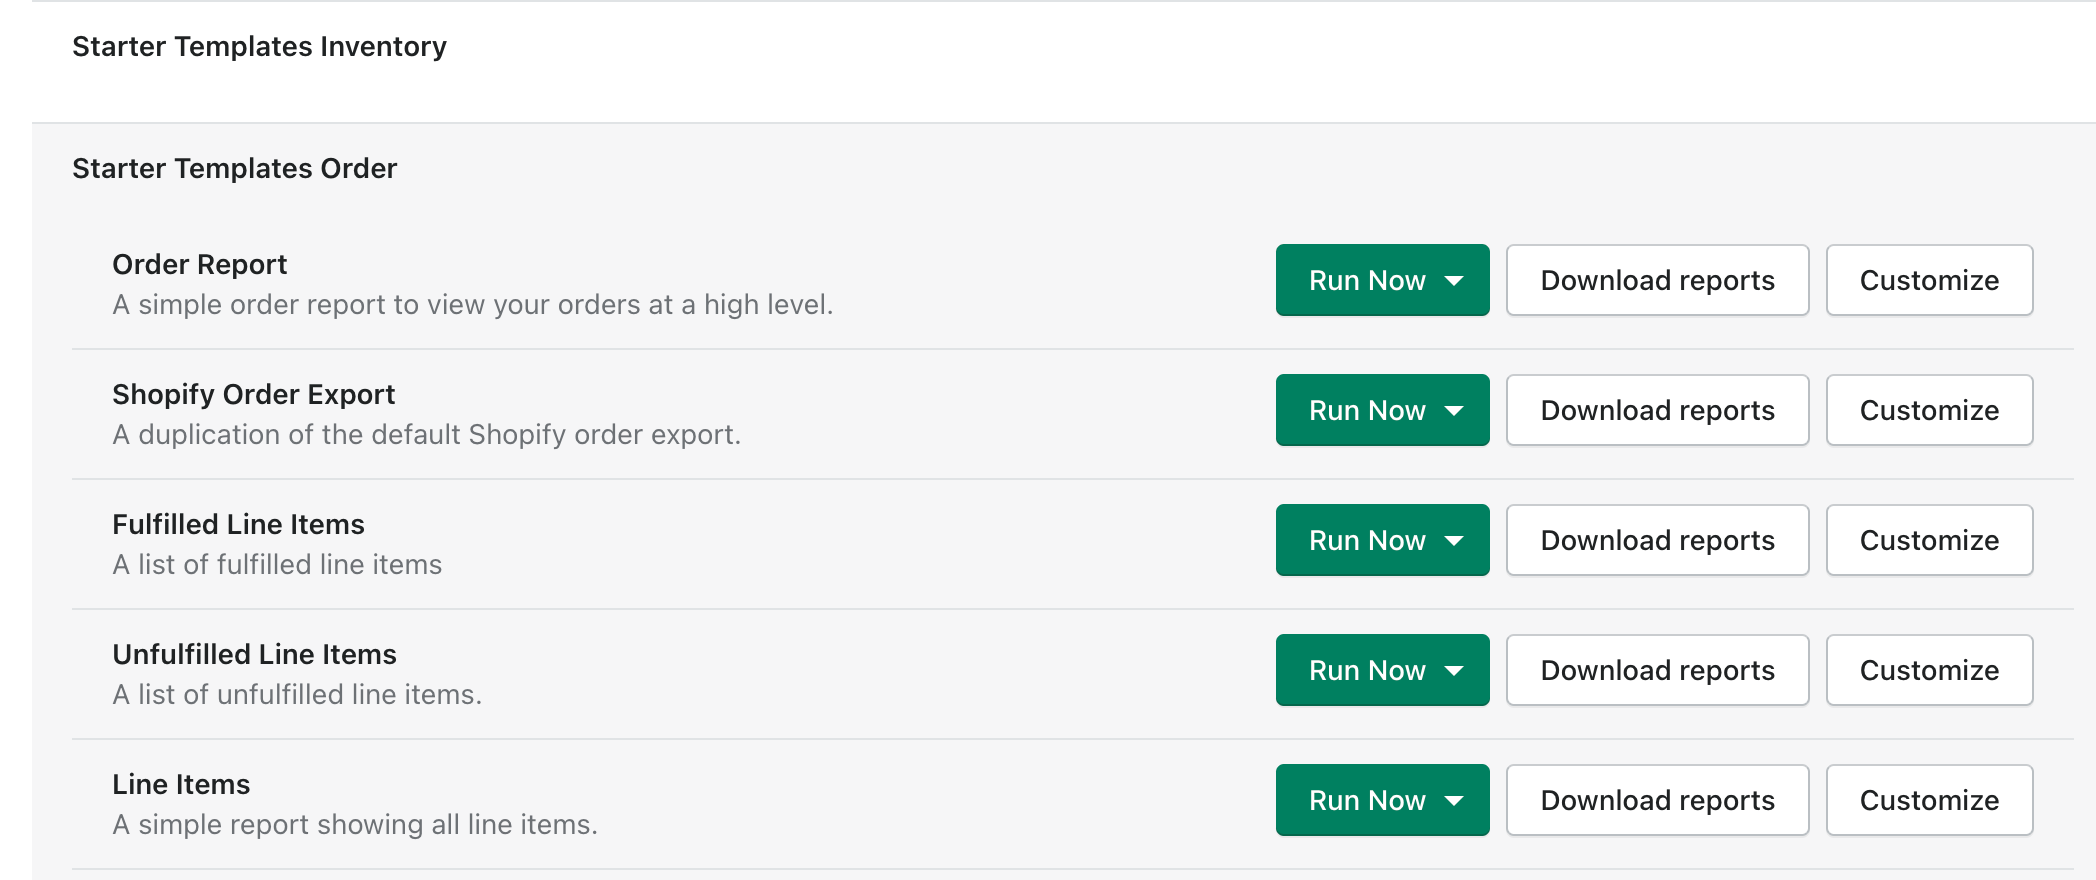
To view a starter template’s contents you can:
Click Run Now to generate a report from the template (learn more)
Click Customize to view the starter template in the template editor (learn more)
For Basic and Essentials customers, customizing a starter template will only count against your plan limits when you save it to your custom template folder (Professional customers have unlimited templates).
Create a new blank template
If you would prefer to start with a blank slate, click the New Report Template button on the Home Screen or in the Template Library.
![]()
You will be prompted to select the type of data you want to create your report from. The options presented are roughly based on Shopify’s REST API.

The most common options are:
- Order: Sales related reporting including orders, refunds, fulfillments, discounts, taxes, line items, line item properties, order notes, transactions, risks, customers and other order related
- Product: Report on product information including variants, tags, metafields, inventory, prices and images
- Customer: Customer information including tags, metafields, addresses, and sales data.
- Other types include Blogs, Articles, Checkouts, Draft Orders, Locations, Prices, Shop and more.
We will present another chance to use a starter template based on the data type chosen. To proceed with a blank template, select the Blank Template option in at the end of the list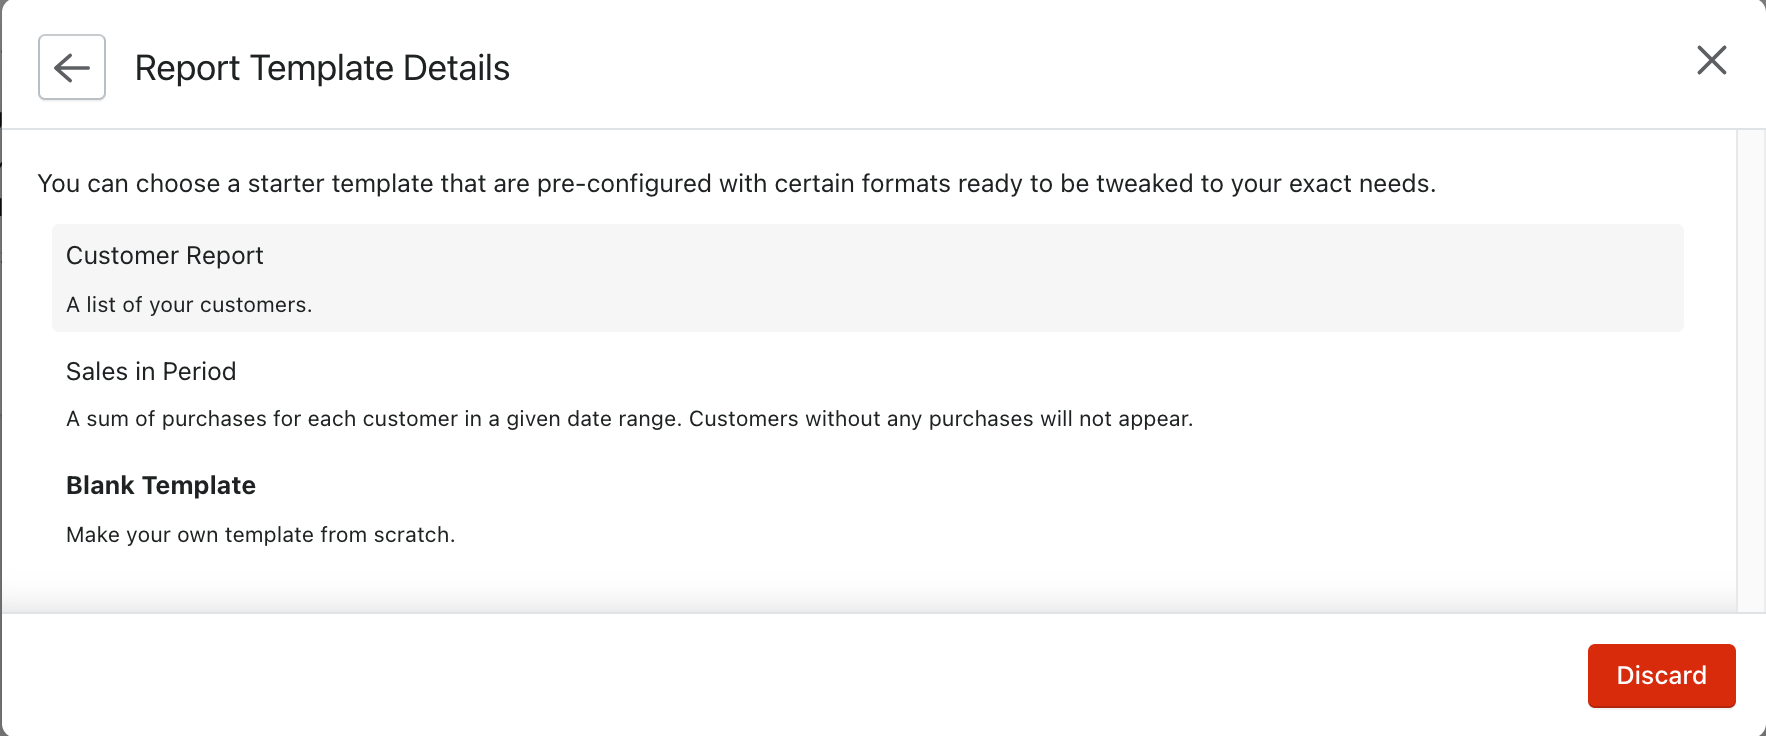
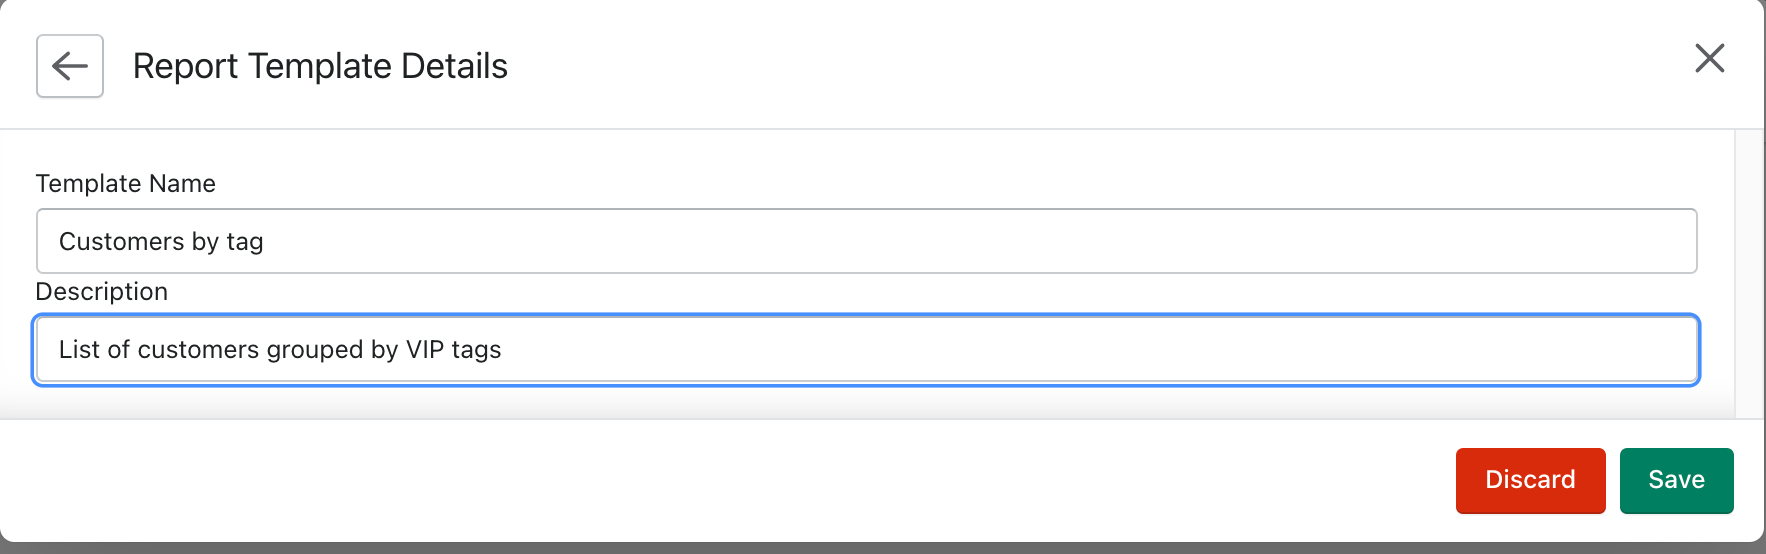
Give the report a name and an optional description and press Save
back to top
Template editor basics
To rename a template, click the pencil icon next to the template name
![]()
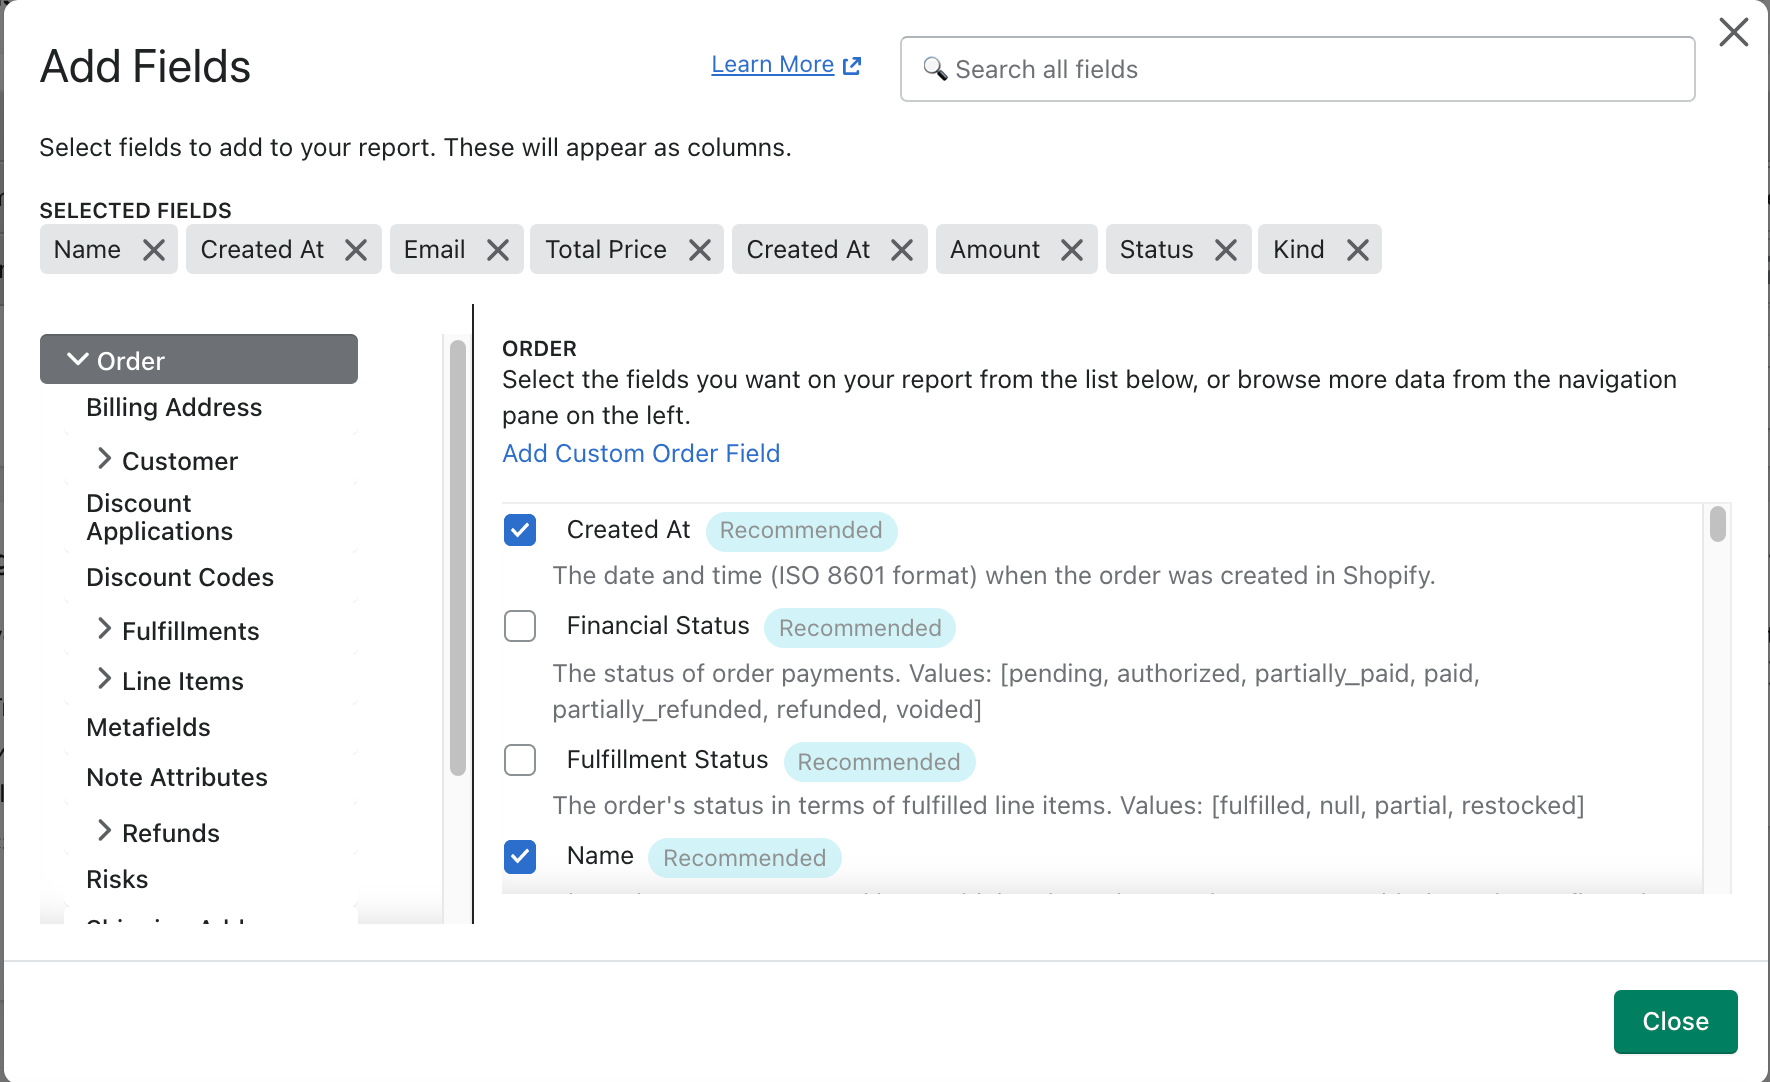
To add a column from Shopify, click the Add Column button
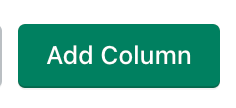
Browse all available and related data using the left hand navigation, or search for a field using the search box. Xporter offers convenient calculated fields not regularly available in Shopify, denoted with an icon. You can also add custom fields to do powerful calculations and logic
To rename a column, simply select the column name you'd like to modify and type the name you'd like to see on your reports.

To move a column, click and drag the column header (A, B, C..) to the desired location
Alternatively, click the arrow on the column header and move the column left, right, or enter the letter of the desired position and press Move to
To delete a column from your template, click Remove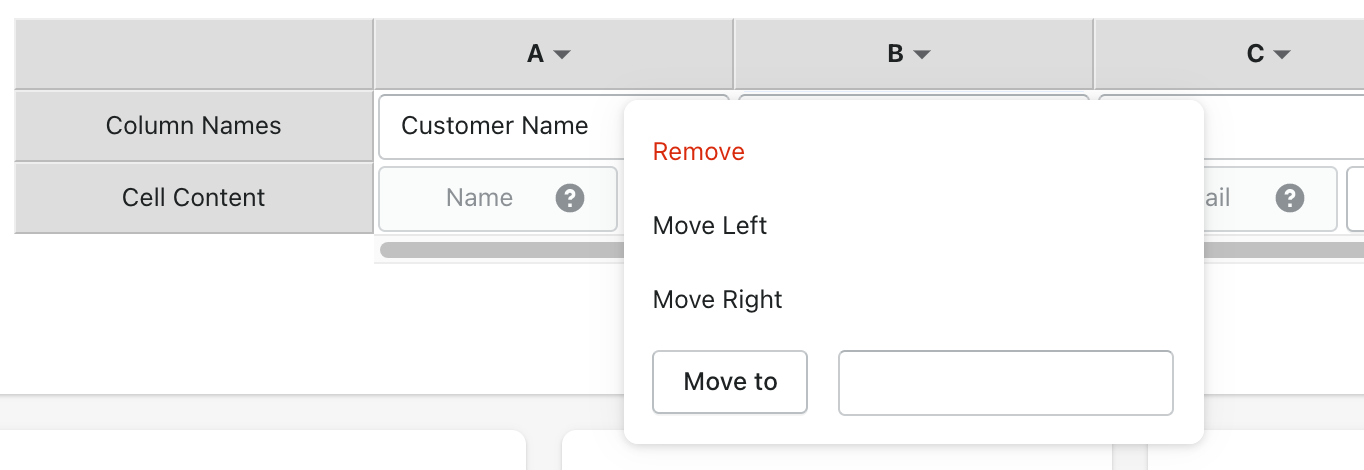
When you make changes to a template, a black bar will appear at the top of the template editor with options to Save or Discard your changes. Make sure to save your work!

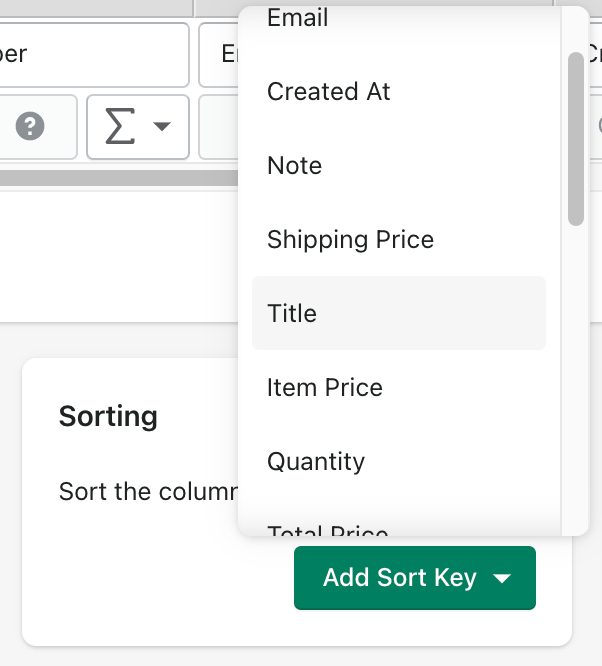
To sort the data in your reports, add a Sort Key and select a field from your template to sort by. You can add multiple sort keys
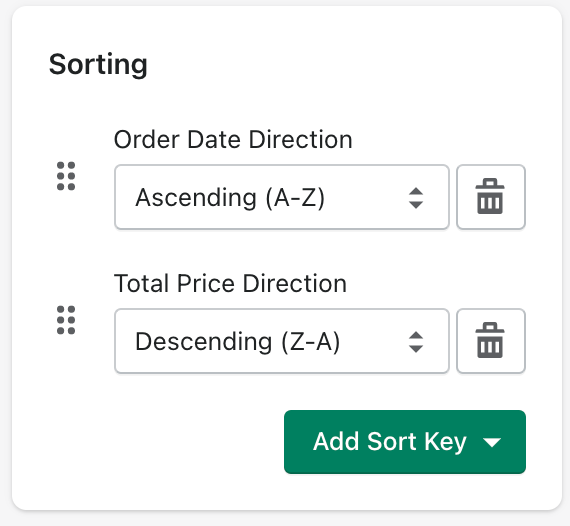
When you've selected a sort key, assign the sort direction by choosing Ascending or Descending
If you have multiple sort keys, drag and drop using the grab handles to reorder their priority. This example would first sort by order date (ascending), then total price (descending)
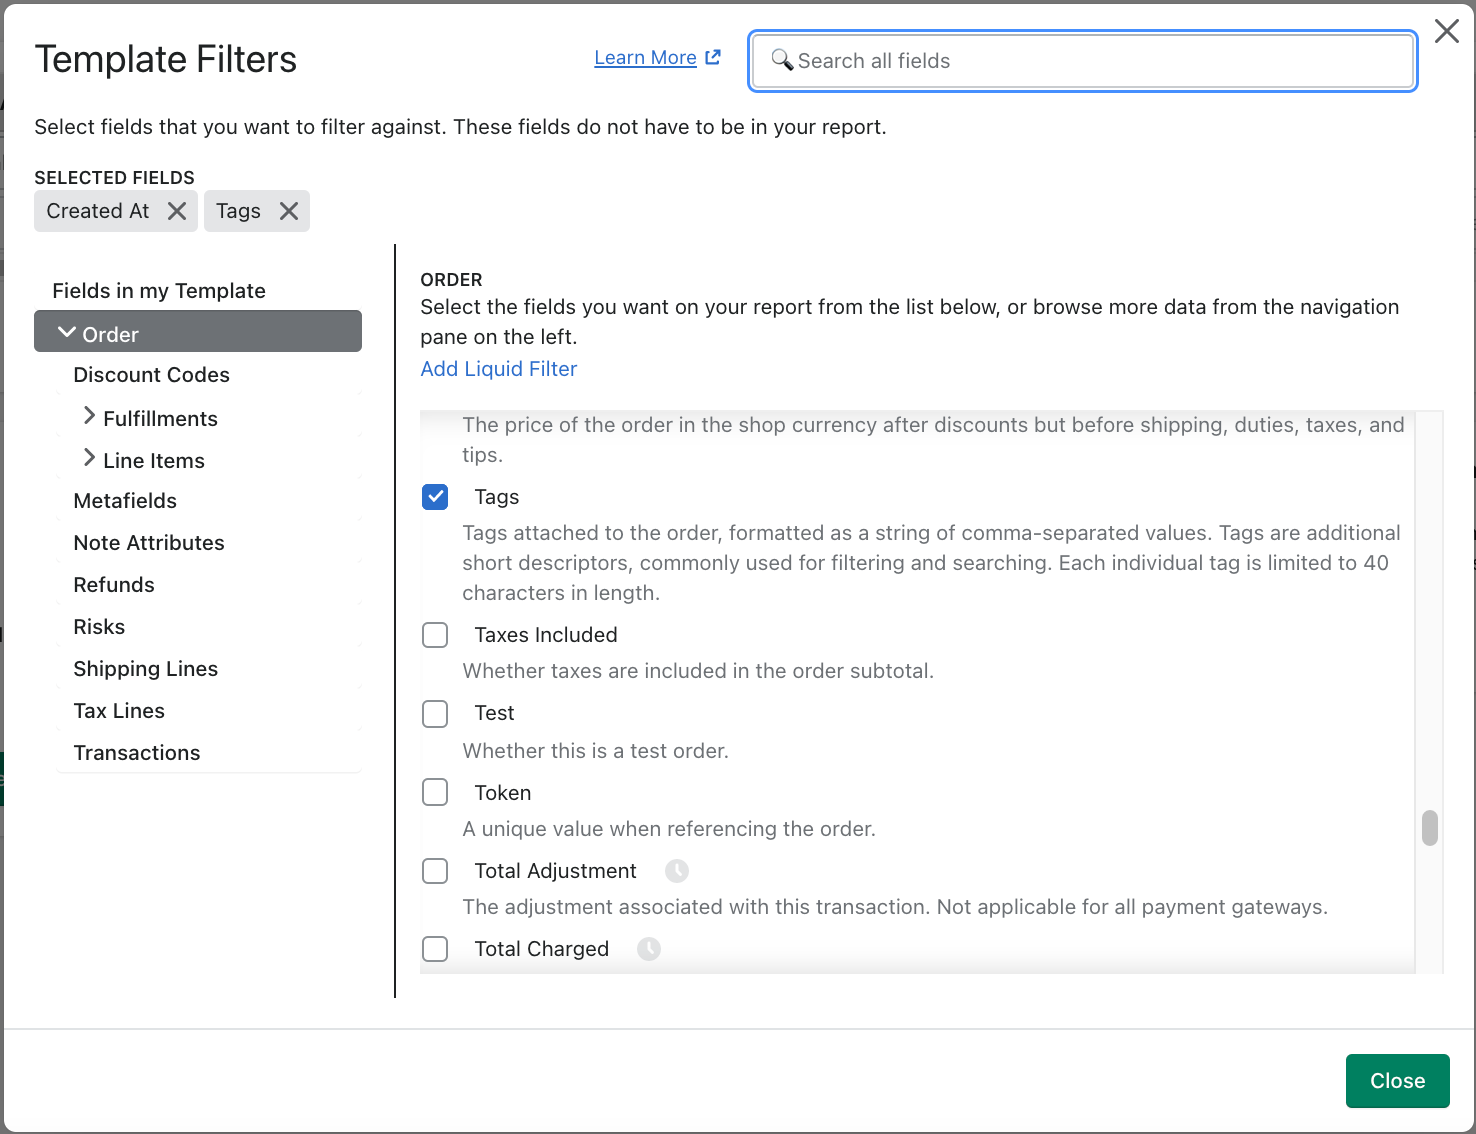
To add filters to your report, click Add Report Filters and select one or many fields you would like to filter by. Note, you can filter your report by fields that are not displayed in the report.
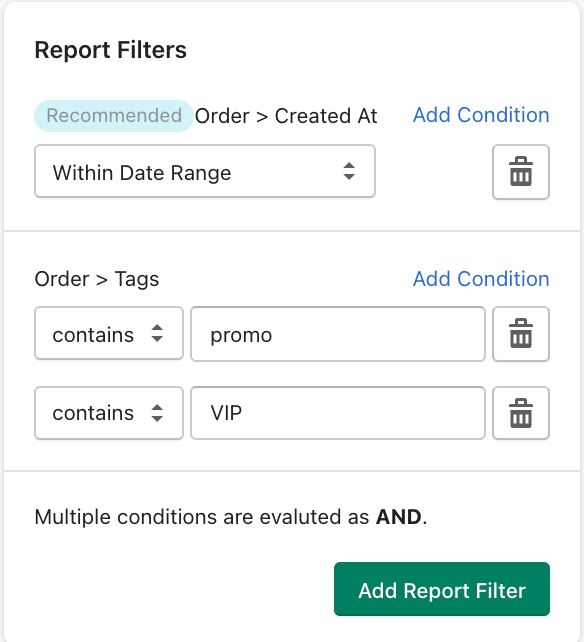
You can specify multiple conditions for your filters. This template will prompt for an order date range when run manually (or use automatic generation settings) AND only show orders that are tagged 'promo' AND 'VIP'.
There's a lot more you can do with advanced filtering, including using Liquid (Professional) and Regex to filter your data. Reach out to support or read more here
The Settings menu contains numerous options to further refine the formatting of your reports.

Main Rows control how your data grouped on your report. For example, if you want to see sales data by order line item, select Line Item as a the Main Row. In some cases, Xporter will do this automatically for you. Read more about Main Rows
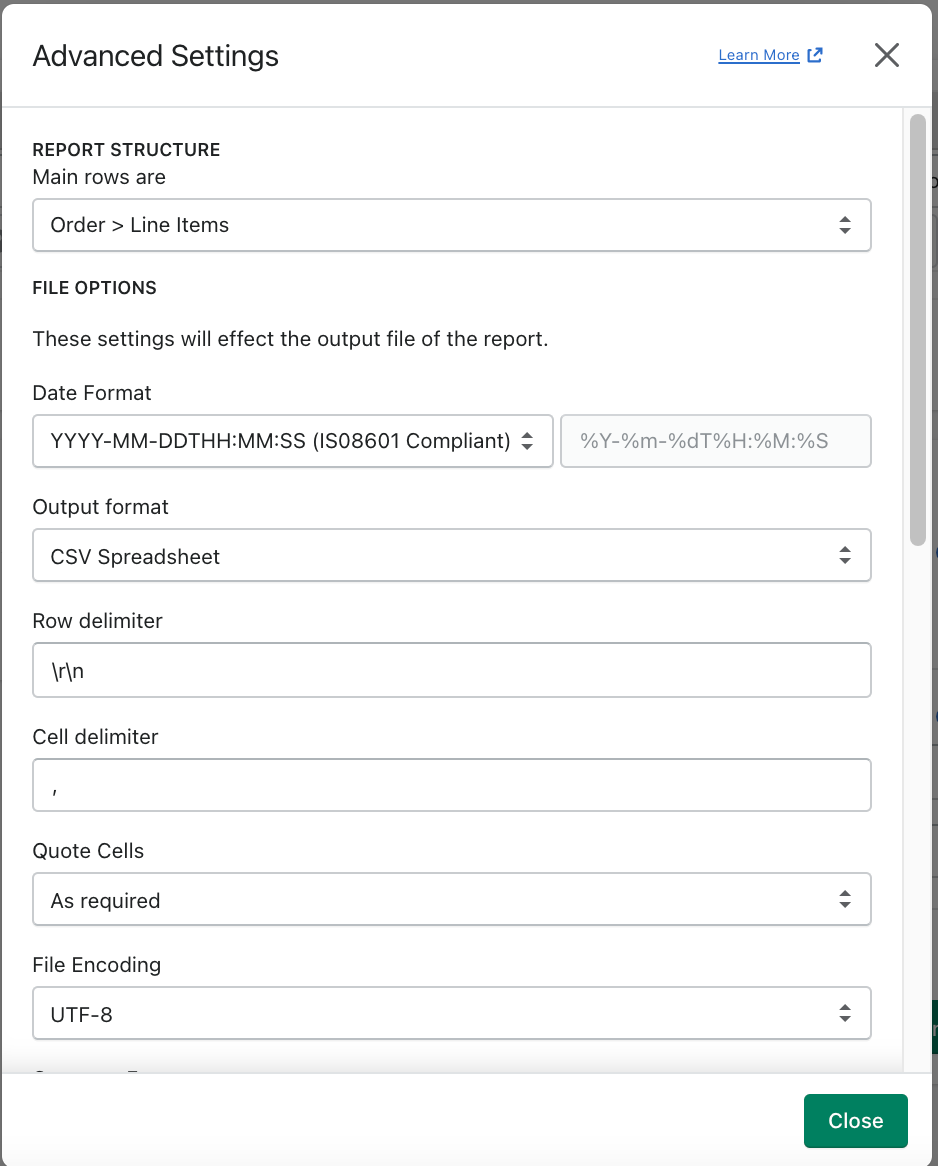
You can change the file type (CSV, Excel, TXT, XML, HTML, PDF etc) and other file and regional formatting options.
You can add header and footer rows to your reports by clicking the Add Row button 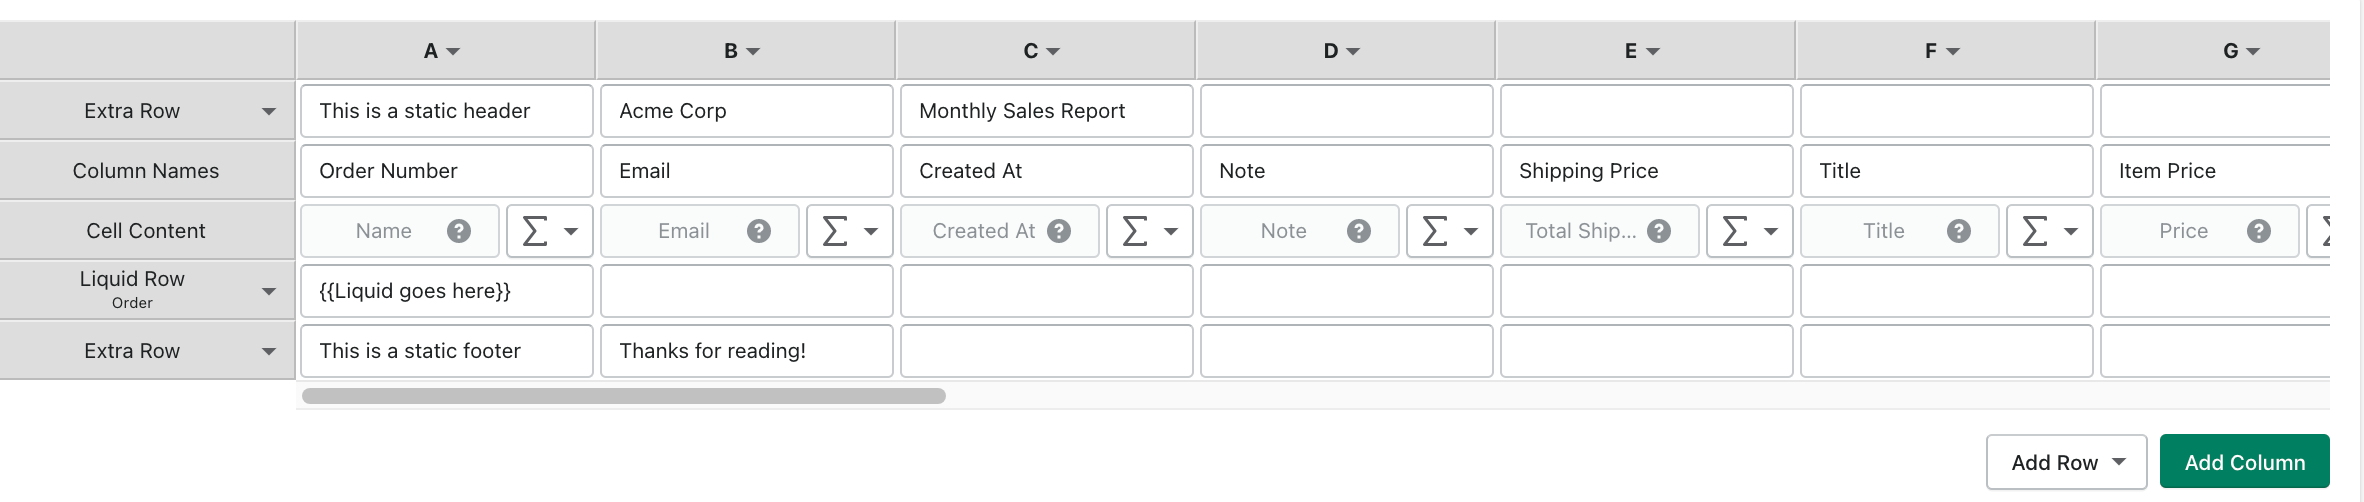
Static Header and Footer Rows will appear above or below your data rows, and can be rearranged by dragging. You can enter any static text or numeric value, which will simply appear in your report, in the assigned position
Liquid Rows are very powerful liquid expressions that can be used to dynamically add rows, or even to generate entire reports. Click here to read more about liquid rows
back to top
Run a report from a template
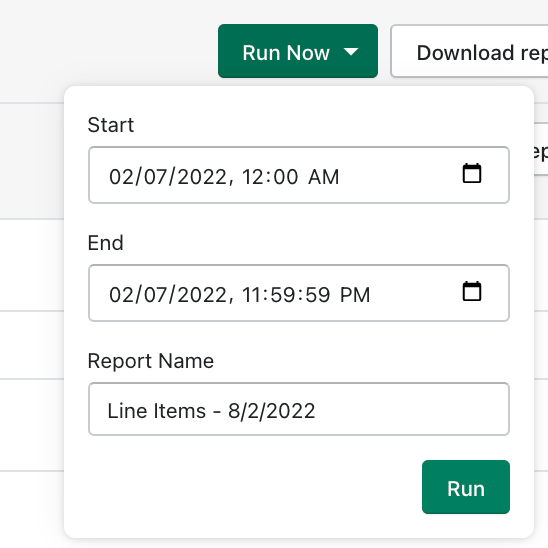
You can run a report from the home screen or the template library by clicking the Run Now button next to the template name
You will be prompted to name your report, and specify any dynamic filters configured in the template like a date range.
Download and manage saved report files
You can download saved reports from the home screen or from the Saved Reports page by clicking the download icon
Reports can be deleted from the Saved Reports page using the red trash can icon.